We've been struggling with time to work on the robot over the last few weeks, rushing to get it finished so the blog posts are a little behind where we are. Here's some details of how we made our fish-food-cannon for the feed the fishes challenge.
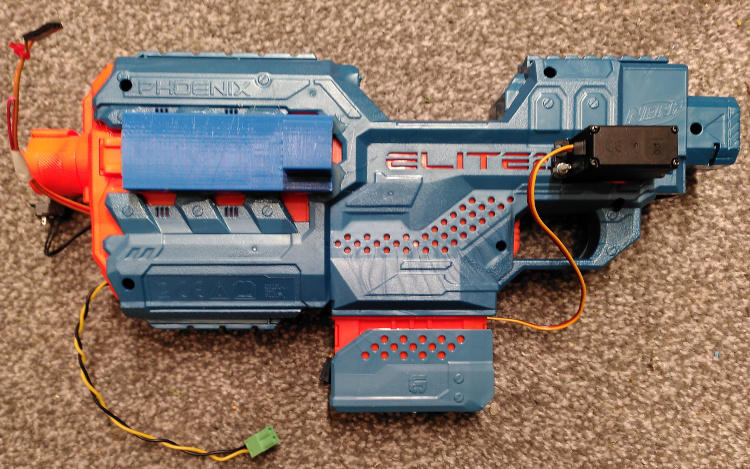
We decided to go for the top-target and try and launch projectiles. Our robot doesn't have much to mount a bull-dozer type attachment and I doubt I'd be much good at knocking golf balls into a goal so we looked at the firing food option. I sourced an open-box Nerf gun online to use as a basis for our entry https://www.amazon.co.uk/NER-ELITE-2-0-PHOENIX-CS/dp/B0824SC19W. I picked this one specifically because it had a 6 shot magazine and it was listed as battery-powered which made me hopeful we'd be able to modify it fairly easily to control remotely. Most of the spring-loaded ones seemed like they'd be hard to automate. Looking at the pictures I was expecting something along the lines of a chunky pistol but what arrived was much bigger than I expected.
I hacked away at it for a bit trying to dismantle it and eventually had to look for some guides on YouTube. It seems like there's a vibrant modding community around these Nerf guns so I found a couple of guides. As well as the screws and the springy plastic clips around the edges there are about 4 points where the two halves are chemically welded together. Once I realised this and roughly where they were a few surgical strikes with my oscillating saw got the two halves apart.
Inside I found a complex series of springs and interlocks around the trigger and the ammunition clip and a closed orange plastic box which had two wires coming out. To fire the gun you have to hold down a small secondary trigger which appeared to spin-up some flywheels then you pull the trigger to push darts from the magazine into the flywheels to fire. Most of that mechanism is pretty easy to understand, but there were two interlocks to prevent you pulling the trigger. One won't let you pull the trigger until the flywheel spin-up is done and the other won't let you pull the trigger if the magazine is not loaded. Once I'd figured out all the mechanics I pulled out everything including the trigger and the handle and removed the spring that was causing the trigger to return so all that was left was the sliding firing pin.
Up at the front was the closed box which contained the fly wheels. Prizing this open I found what I expected, a couple of small DC motors and the AA battery pack that powers them, the circuit between the batteries and the motors was taken out of the box to the small fly-wheel trigger at the back. I pulled out the battery box and all the wiring leaving me with just the flywheels. My plan was to make these motors speed-controlled so that we could control firing power to adjust range. I had a couple of RC speed control blocks which plug into a servo connection and allow you to control a DC motor, they'd work well as our accessory port had just two servo connections. The trouble with the speed controllers is that they were designed for 7.2V NiMH battery packs so needed more than 6V but less than 12V to run. Our robot had a 12V rail but it went up to about 13-14V on a really fresh battery which from experience causes these controllers to shutdown. The other power rail was the 5V supply for the servos, but that wasn't enough to power the speed controller. In the end I bought a switch mode block from eBay which takes a wide range of input voltages and regulates down to a settable output. With that set up for 7.2V and fed from the main battery I was guaranteed a good voltage at all times. With that in-line all that was left was to cram everything in and close up the firing chamber.

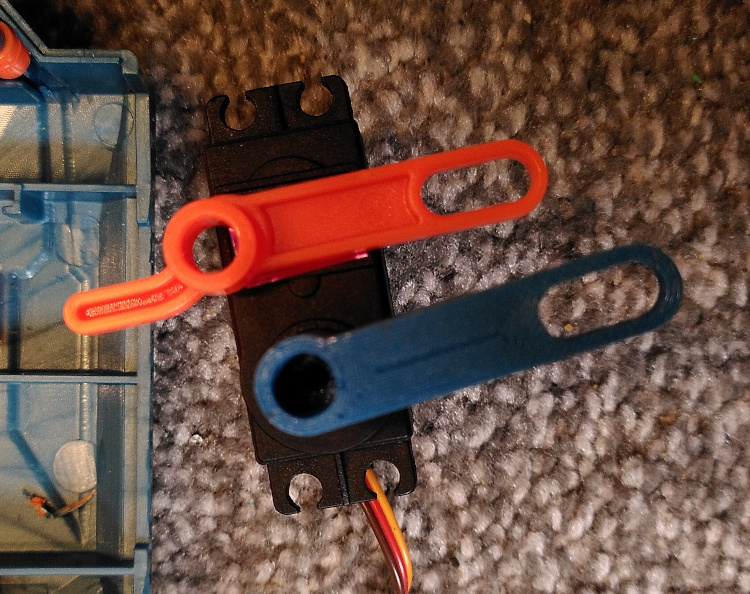
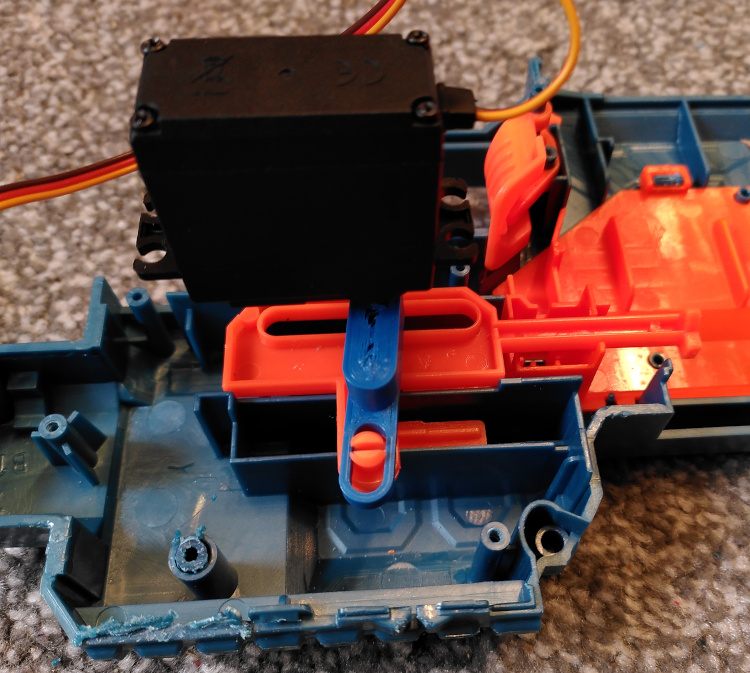
Next I went back to the trigger. I 3D printed a servo-horn which matched the shape of the trigger lever and attached it to a spare servo that was lying around. The printed part locates on the pillar where the trigger lever used to pivot.
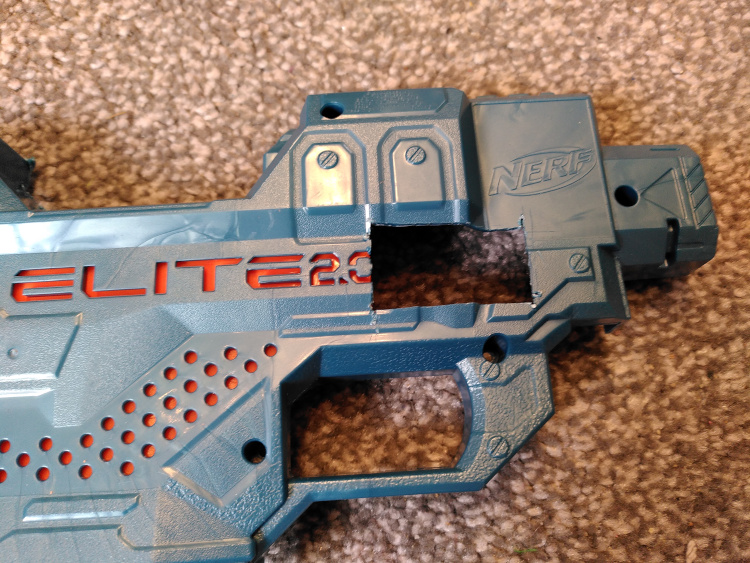
Finally I needed a way to stop the servo spinning instead of moving the lever, I did that by cutting a hole in the other side of the gun casing and feeding it through. A few bolts were added later on to make sure it stays in place.
With those modifications I screwed the gun back together and did some test firing. If the motor speed is too low they stall leaving the Nerf dart stuck in the barel. With the speed set as low as I could make it the range is still a metre or more when the gun is at any significant angle. After a bit of thought we decided to mount the gun vertically so that the attachment arm can tilt it away from completely vertical rather than having to raise it to almost completely vertical to get the range right. I printed a block which used the attachment mounting from the telescopic sight that came with the toy but in the end just glue-gunned the mount to the side to make sure it didn't wobble. A bit of code in Python controls the speed and trigger servos so all I have to do is pull the trigger on the controller and let the Raspberry Pi spin up the motors and turn the servo back and forth.