Articles by Nathan Dumont

  1. Backwards LEDs Don't Work

    Good lesson today as I tested out the battery status LEDs on the side of our main controller board; the polarising mark on the WS2812B smart-LED isn't on pin 1, in fact it's opposite pin 1.

    I'd populated the board and had assumed the chamfered edge on the LEDs was …

  2. Power and Pi

    Having designed the motor controllers the last main chunk of electronics needed is the stuff that wraps around the RaspberryPi. We're planning on using a Pi4 for two reasons. One is that we hope to exploit its processing power with a camera to do some tasks autonomously (time will tell …

  3. Motor Control

    We've already discussed what motors we're using. These motors need some fairly hefty speed control, they have a stall current of 3.4A. They've also got magnetic encoders which means we need real-time encoder monitoring ability. Real-time stuff on the Pi is challenging, and monitoring 4 quadrature encoders with one …

  4. Batteries

    Picking a power source for the robot was the next big challenge. We need to run quite power hungry motors and we're planning on using a Pi4 so we need a decent battery capacity.

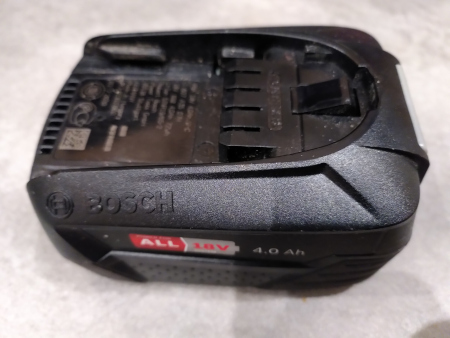
    A Bosch Power4All power tool battery.
    A Bosch Power4All battery pack, this is the 4Ah battery pack.

    The first idea that sprang …

  5. Motors

    Obviously we need motors for our robot. The easiest option is to buy motors with a reduction gearbox already attached. This will reduce the speed but increase the torque (how "strong" the motor is).

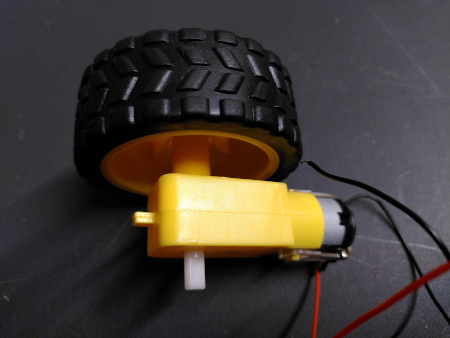
    Picture of a small yellow platic motor and gearbox common in toy robotics.
    One common and cheap option for motors, a bit small for my ambitions.

    There are a …

  6. Starting Design

    A few weeks ago now we started discussing ideas for what our robot might look like. I asked John to come up with some ideas and he was initially enthusiastic about drawing. His idea of a robot does seem to be mostly based around a somewhat boxy but humanoid form …

« Page 3 / 3